My first step in the laundry room was to create a plan and figure out a color scheme working around the things that I'm not willing to pay to replace. The tile floor, the counter top, the sink and the refrigerator have to stay as well as the cabinets but I'm going to change the look of those.
 |
BEFORE PICTURE ~ It really bothers me that the builder did not take the cabinets all the way up to the ceiling here. I'm not sure if I'm willing to take the time and the effort to move them up even though it bothers me. My budget will not allow my to hire someone to do it so that means it would be me. Hmmm?
|
 |
| At least the floor is neutral. I can't replace it unless I'm willing to replace the other 1,000 square feet that it's attached to. I'll add a small rug here for color. |
 |
| The sink just needs some cleaning up. I can't hide the fact that I paint A LOT. Another pet peeve ~ look at the placement of the outlet for the washer ~ REALLY? The counter tops have to stay too but again, they are neutral so things could be worse. Usually they are so cluttered that I can't see them anyway. Hopefully this will change. |
 |
| This is what a 16 year old dryer looks like. |
I really would like to change out the washer and dryer at some point and I love the look of the front load washer and dryers but I've heard a few negative things about them from a practicality standpoint. First of all, I've heard that they get stinky. Ewww. I believe this because I keep seeing things on Pinterest on how to get the smell out of your front loads. Secondly, I've heard that you can't really soak in them. That makes sense to me because where would the water sit if you load in the front? I have two boys that play baseball so I have to soak! I had someone come out to repair my refrigerator in the laundry room and the repair man told me to never get rid of my washer and dryer because more than half of his repair calls were on the newer front load models. I would love it if someone could give me some good news about them other than they look a lot better because I really want them. It looks like I might have to paint them or something. This could be a road block.
Saving that problem for another day, I went shopping for paint, hardware and baskets. Here's what I have so far....
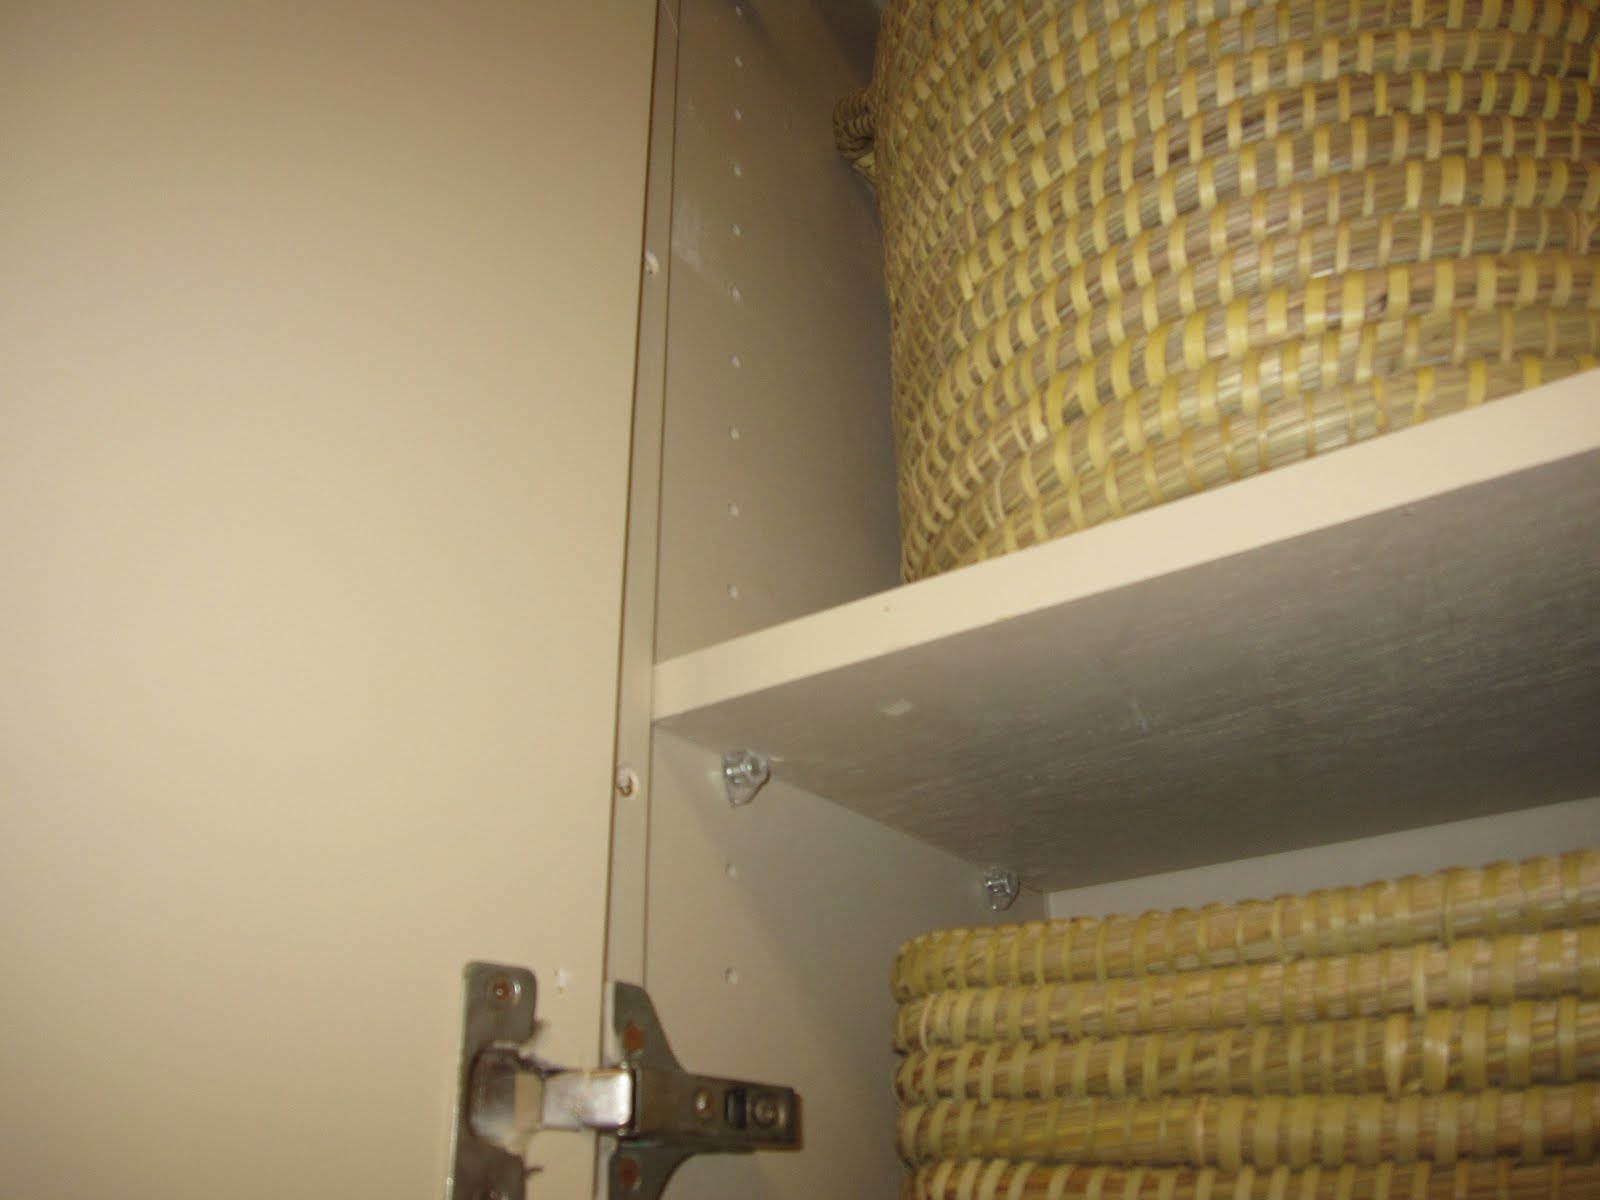
I know that you probably think that shopping for accessories should come last and for the most part you are correct. In this case I needed to find the size baskets first because after I take the cabinet doors off I will have to fill the holes for the adjustable shelves on the side. I'll show you how to do this later...
 |
| These basket were a bargain at Home Goods at $6.99 each. |
 |
| $50.00 for cabinet hardware. I like the galvanized finish. |
 |
| Gotta love self priming paint. $13 at Home Depot. The plan is to distress the bottom cabinets only with the color "apple wine" First I have a lot of sanding to do. I'll show you the process later. The rest of the room will be painted powdered snow like the hallway. My color inspiration was from Practical Magic ~ |
 |
| Love the whites and apple greens. Notice the hardware on the cabinets. Look familiar? |
 |
| Better Homes and Gardens.com This is a little more on the yellow side but I like the combination with the white. |
That's what I have so far. Next step, removing the cabinet doors and a lot of sanding and painting. I'll show you coming up how to remove the doors and the cabinet refinishing so stay tuned...


No comments:
Post a Comment
Hi. Thank you for visiting! Please feel free to leave any comments and share if you have a fun and similar project going on. Also, I am happy to answer any questions that you might have regarding tutorials or sources for decorating. I love making new friends who share my love of design, so don't be shy! You can also join me here and on other social networks on the right sidebar of this blog. Have a fabulous Day!